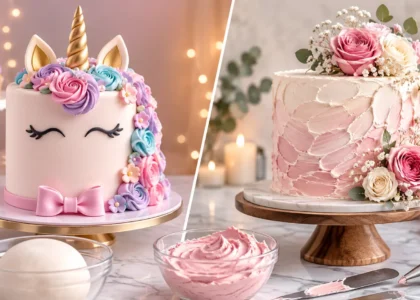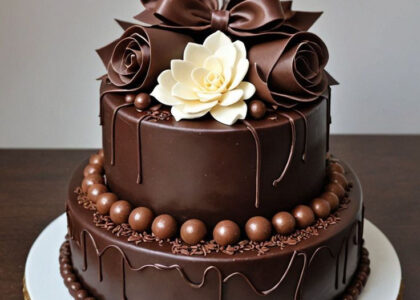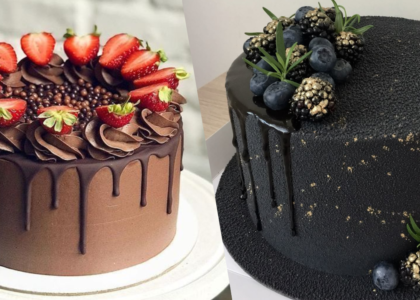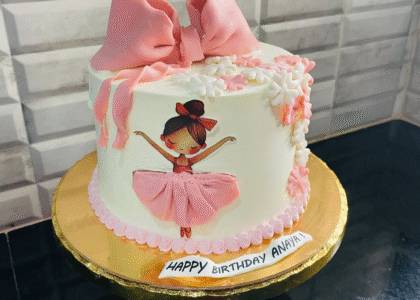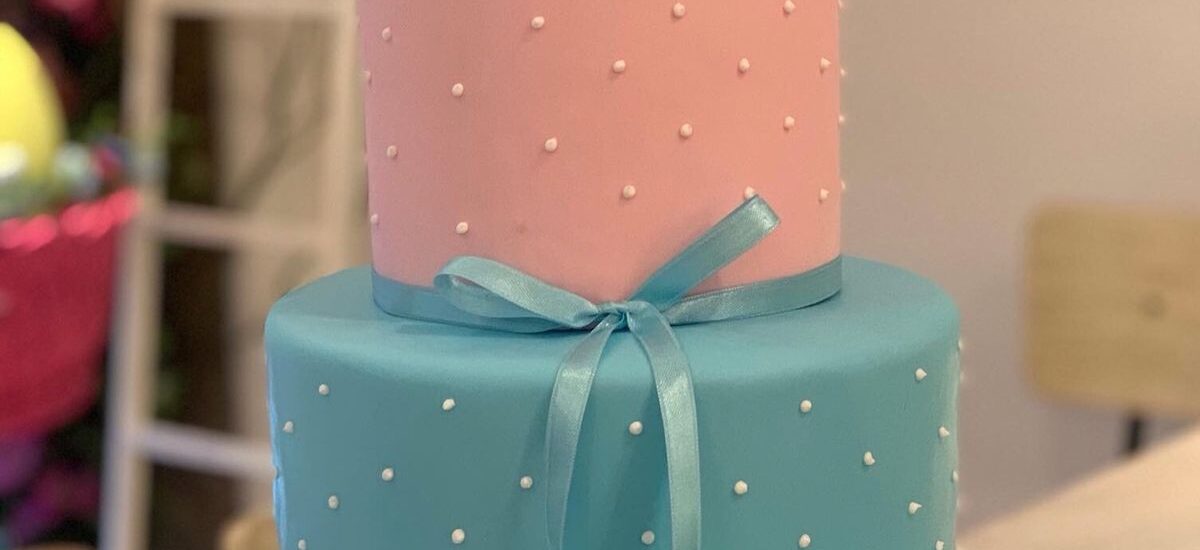
I’ve baked more baby shower cakes than I can count — for godh bharai functions, for surprise reveals, for last-minute “the shower is in three days, and I forgot” panics. So here’s the truth before we start: this is one of the easiest celebration cakes to get right at home. There’s no fondant sculpting, no complicated tiers by default — just clean layers, soft frosting, and a design that says “someone’s about to become a mom” without trying too hard.
Quick Answer: Yes, you can make a beautiful baby shower cake at home with a simple two-layer vanilla or chocolate sponge, buttercream or fresh cream frosting, and basic piping — no fondant or professional training needed. It’s eggless-friendly too, which matters if your family function skips eggs.
This guide covers the batter (classic and eggless), frosting, decorating, what to write on top, and the questions I get asked most — including the one nobody else answers: should you even bake it yourself, or just order it?
What You'll Need Before You Start
Lay everything out before you begin — that’s the one habit that separates a calm bake from a stressful one.
For the Cake (Classic, with eggs):
Ingredient | Cup Measure | Gram/ML Measure |
All-purpose flour (maida) | 2½ cups | 315 g |
Baking powder | 2½ tsp | 12 g |
Salt | ½ tsp | 3 g |
Unsalted butter, room temperature | ¾ cup | 170 g |
Sugar | 1¾ cups | 350 g |
Eggs | 4 | 4 large |
Whole milk | 1 cup | 240 ml |
Vanilla extract | 2 tsp | 10 ml |
For the Cake (Eggless version):
Swap the 4 eggs for 1 cup thick curd/yogurt + ½ tsp baking soda, whisked together and rested for 5 minutes before adding. It gives the same soft, moist crumb — I use this exact swap for every eggless order that leaves my kitchen, and nobody’s ever guessed there’s no egg in it.
For the Buttercream Frosting:
Ingredient | Cup Measure | Gram/ML Measure |
Unsalted butter, softened | 1½ cups | 340 g |
Powdered sugar (icing sugar), sifted | 4–5 cups | 500–625 g |
Heavy cream (or full-fat fresh cream) | 3–4 tbsp | 45–60 ml |
Vanilla extract | 1 tsp | 5 ml |
Gel food colour | Optional | Optional |
Local Swap: No heavy cream at hand? Amul fresh cream works almost as well — just make sure it’s well chilled before you use it, or the frosting turns runny.
Tools:
- Two 8-inch or 9-inch round cake pans
- Hand mixer or stand mixer
- Cooling rack
- Offset spatula
- Cake turntable (not essential, but it genuinely changes how smooth your finish looks)
- Piping bags and nozzles
- Bench scraper
Choosing Your Baby Shower Cake Design
Decide the look before you bake — it decides everything else: how many layers, what colours, how much time you’ll actually need.
- Simple buttercream cake — smooth or lightly textured. Elegant, and genuinely hard to mess up.
- No-fondant baby shower cake — good news if you were dreading it: you don’t need fondant at all. Buttercream and fresh cream finishes look just as beautiful and taste noticeably better.
- Two-tier baby shower cake — more drama, same skill level. Stack two frosted cakes, done.
- Themed designs — elephant, teddy bear, floral, stars, clouds. Pick one and commit to it; mixing three themes is what makes a cake look busy instead of intentional.
- Gender reveal cake — if the parents-to-be don’t know the gender yet, bake the sponge in pink or blue and keep the outside neutral (white, gold, or cream). The reveal happens at the first slice — it’s one of the most-requested versions I make, and it’s simpler than it sounds.
If this is your first cake, go simple. A clean, well-frosted single layer beats an ambitious three-tier attempt that collapses at 11pm the night before. I’ve seen both, and I promise the simple one always gets more compliments.
Tips to Make It Actually Look Good
Step 1: Bake the Cake Layers
Preheat your oven to 175°C (350°F). Grease and flour both pans, or line them with parchment.
Whisk the flour, baking powder, and salt together in one bowl and set aside.
Beat the butter and sugar on medium-high for 3–4 minutes — you’re looking for pale and fluffy, not just “mixed.” This step gets skipped more than any other, and it’s the single biggest reason home-baked cakes turn out dense instead of light.
Classic version: Add the eggs one at a time, beating after each, then the vanilla. Eggless version: Add your rested curd-and-soda mixture along with the vanilla.
Now alternate the dry ingredients and milk into the batter, starting and ending with the dry mix. Once the flour goes in, mix only until just combined — overmixing here is what makes a cake chewy instead of soft.
Divide the batter between your pans and bake for 28–32 minutes, until a toothpick comes out clean.
Cool in the pans for 10 minutes, then move to a wire rack. Do not frost while warm — give it at least an hour. I know the temptation is real. Resist it anyway.
Step 2: Make the Buttercream
Beat the softened butter alone for 2 minutes until pale and creamy. Add the powdered sugar one cup at a time on low speed — this is the step where a kitchen towel over the mixer saves you a sugar cloud.
Add the cream and vanilla, then beat on medium-high for 3–4 minutes until light and spreadable. Too stiff? A teaspoon more cream. Too soft? A little more powdered sugar.
Split into bowls for multiple colours and use gel food colouring, not liquid — liquid colour thins the frosting and throws off the texture.
Prefer a lighter, less-sweet frosting? Whipped fresh cream works beautifully instead of buttercream — just know it needs refrigeration and should be served the same day.
Step 3: Level and Stack
Slice the domed tops off both layers with a serrated knife so they sit flat.
Place the first layer down, add a generous amount of frosting right to the edges — this is your filling layer, don’t go light on it — then set the second layer on top, flat side down, and press gently.
Step 4: The Crumb Coat
This is the one step that separates a home bake from a bakery-clean finish. A crumb coat is a thin frosting layer that locks all the loose crumbs against the cake so your final coat stays smooth and crumb-free.
Spread a thin layer over the whole cake — it doesn’t need to look neat yet. Refrigerate for 20–30 minutes until it firms up.
Step 5: Decorate
Smooth finish: a generous second coat, smoothed with a bench scraper while spinning the turntable. Take your time — rushing this step is the most common regret I hear about.
Textured or rustic finish: the back of a spoon or an offset spatula, dragged in swirls and swoops. Less precision required, and honestly, just as charming.
Piping ideas that work well on a baby shower cake:
- Rosettes along the top edge
- A pearl or dot border along the base
- Star-tip texture up the sides
- Ruffles with a petal tip
Toppers are the easiest upgrade for a simple cake — buy them online or cut your own from cardstock. “It’s a Baby,” onesies, little stars, animals — whatever fits your theme. For a teddy bear look, small sculpted fondant bears on the top tier work well even if the rest of the cake is fondant-free.
Step 6: Writing on the Cake
Practice on parchment paper first if you’re piping it yourself — a #2 or #3 round tip gives the cleanest lettering.
What to write on a baby shower cake:
- “Hello Baby”
- “Welcome, Little One”
- “Baby Loading…”
- “Tiny Hands, Big Love”
- “Oh Baby!”
- “Sweeter Things Are Coming”
One short line always reads better than a paragraph. If you’re unsure, shorter is safer.
Chocolate Baby Shower Cake Option
Want chocolate instead? Swap ½ cup of the flour for ½ cup unsweetened cocoa powder, and add ¾ cup hot water to the batter while reducing the milk slightly to balance it out. Use a chocolate ganache between the layers instead of buttercream — it’s rich, it holds its shape, and it’s one of my most-requested combinations.
A chocolate sponge with a pale outer buttercream is a favourite for a reason: the surprise of the dark layer inside when you cut into it always gets a reaction at the party.
What About Mini Cakes?
If your guest list has very different tastes — or you just want something that photographs beautifully on a dessert table — mini cakes are worth considering. Use a muffin tin or mini cake rings, bake the same batter, and frost each individually. They also solve a real problem: no awkward “who gets the corner piece” moment, and everyone gets their own little cake to take a photo with.
Storage & Make-Ahead Tips
- Un-iced layers: wrap tightly and refrigerate for up to 2 days, or freeze for up to a month.
- Fully decorated cake: refrigerate and bring to room temperature about an hour before serving — cold buttercream tastes flat.
- Make-ahead plan that actually works: bake the layers 2 days ahead, frost and decorate the day before or the morning of the shower.
Should You Bake It Yourself, or Order It?
Honestly? If you’ve got the time and you enjoy this kind of thing, baking your own baby shower cake is genuinely rewarding — there’s something about handing over a cake you made yourself that means more than a store-bought one.
But if the shower is in two days, the guest list just doubled, or you’d rather spend that time with the mom-to-be than with a piping bag — that’s exactly why we exist. We bake custom baby shower cakes in Bangalore, eggless or classic, including gender reveal cakes with the surprise colour baked right in, and we can match almost any design you’ve pinned. Browse baby shower cake designs or WhatsApp us directly for a same-week quote.
To Order Cakes and for Design Idea Visit us on Instagram: @ankcake_land
Frequently Asked Questions
What size cake do I need for a baby shower?
A single 8-inch two-layer cake serves 12–16 people comfortably; for larger gatherings, go with a 10-inch cake or add a second tier.
Recommended: What cake size a small house party should consider?
Can I make a baby shower cake without eggs?
Yes — replace the 4 eggs with 1 cup thick curd whisked with ½ tsp baking soda, rested for 5 minutes before adding; the texture comes out just as soft and moist.
How far in advance can I make a baby shower cake?
The cake layers can be baked up to 2 days ahead and wrapped tightly; frost and decorate the day before or the morning of the event for the freshest finish.
Can I make a baby shower cake without fondant?
Yes — buttercream and fresh cream finishes look just as elegant as fondant and taste noticeably better; fondant is only needed for sculpted 3D details.
How do I make a gender reveal baby shower cake?
Bake the sponge with pink or blue food colouring mixed into the batter, then frost the outside in a neutral colour like white or gold so the surprise colour is only revealed when the first slice is cut.
How do I keep a homemade cake moist?
Avoid overbaking, and brush the layers lightly with a simple syrup (equal parts sugar and water, boiled and cooled) before frosting — it keeps the crumb soft for several days.
Can I order a baby shower cake online in Bangalore instead of baking one?
Yes — Ank Cake Land bakes custom baby shower cakes to order across Bangalore, including eggless and gender-reveal versions, with delivery available for last-minute orders too.